
More and more, the world is turning to and adopting the smartphone platform as the digital device of choice. People are not only using smartphones for voice communication, but also web services, email, SMS, chatting, social networking, photography, payment services, and so on.
There are 2.6 billion smartphone subscriptions in the world today, and that is expected to grow to 6.1 billion by 2020 (there are 7.3 billion people on the planet, so nearly one smartphone per person). This means that the smartphone will become the target of choice for hackers, as it can yield lots of information about the individual carrying it and may prove to be an entry point to the corporate network.
In this series, we are going to explore methods for hacking smartphones, which will usually vary by the type of operating system (iOS, Android, Windows Phone, etc.). Since Android is the most widely used operating system (presently 82.8%), it makes sense that we begin there. We will eventually explore hacking Apple’s iOS (13.9%) and Microsoft’s Windows Phone (2.6%). I really don’t think it makes much sense to spend time on the BlackBerry operating system, as it holds only 0.3% of the market, and I don’t expect it to survive much longer. Plus, its latest device uses Android anyway.
In this first installment, we will be creating a safe virtual environment where we can test various hacks. First, we will build some Android virtual devices. Second, we will download and install the Smartphone Pentest Framework. This framework, funded by DoD and built by Georgia Weidman, is an excellent tool for building and testing exploits against smartphones.
Let’s get started with building and deploying the Android virtual devices to serve as targets.
Step 1: Open a Terminal
Of course, to get started, fire up Kali and open a terminal.
Step 2: Install the Required Libraries
In order to run these Android virtual devices on Debian 64-bit operating systems (e.g. Kali), we will need to install several key libraries that are not included by default. Fortunately, they are all in the Kali repository.
kali > apt-get install lib32stdc++6 lib32ncurses5 lib32zl
With these 3 libraries installed, we can now proceed by installing the Android Software Developer Kit (SDK).
Step 3: Install Android SDK
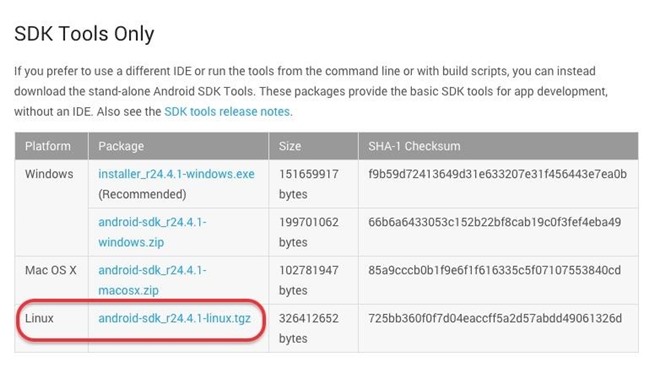
With your Iceweasel browser in Kali, navigate to Android’s SDK website and download the Android SDK Tools. Make certain that you download the Linux kit. You could download and install the Windows or Mac kits and then test those virtual devices from Kali, but that will make things a bit more complex. Let’s keep it simple and install everything in Kali.
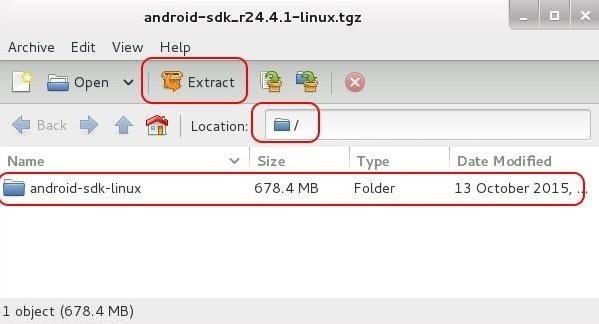
Once you have downloaded it, you can extract it with the GUI archive tool in Kali, or by the command line.
Step 4: Navigate to the Tools Directory
Next, we need to navigate to the tools directory of the SDK directory.
kali > cd /android-pentest-framework/sdk/tools
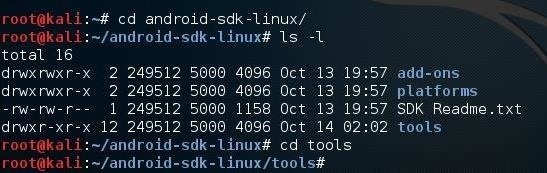
Once we are in the tools directory, we can then run the Android application. Simply type:
kali > ./android
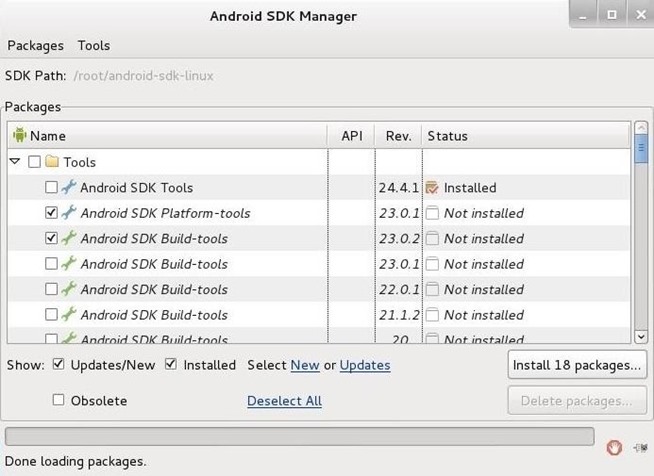
When you do, the SDK Manager will open a GUI like that above. Now, we will download two versions of the Android operating system to practice our smartphone hacking, Android 4.3 and Android 2.2. Make certain you find them among this list, click the box next to them, and click on the “Install XX packages” button. This will make the SDK download those operating systems to your Kali.
Step 5: Android Virtual Device Manager
After we have downloaded all of the packages, we now need to build our Android Virtual Devices, or AVDs. From the SDK Manager pictured above, select Tools -> Manage AVDs, which will open an interface like that below of the Android Virtual Device Manager.
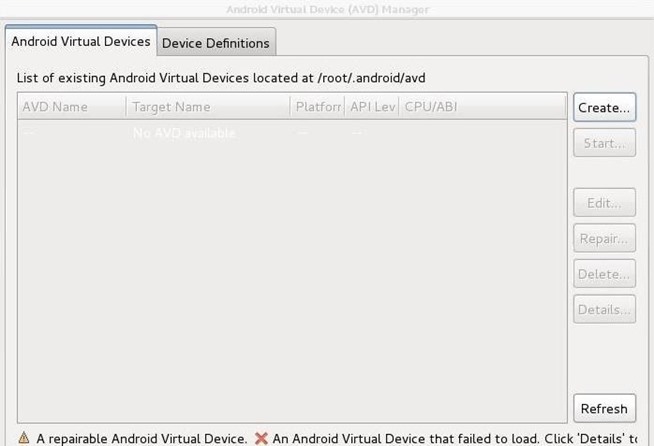
Click on “Create,” which will open an interface like that below. Create two Android Virtual Devices, one for the Android 4.3 and one for the Android 2.2. I simply named my devices “Android 4.3” and “Android 2.2” and I recommend you do the same.

Choose the Nexus 4 device and the appropriate Target (API 18 for Android 4.3 and API 8 for Android 2.2) and the “Skin with dynamic hardware controls.” The rest of the settings you should leave to the default value, except add a 100 MiB SD card.
Step 6: Start the Android Virtual Device
After creating the two Android Virtual Devices, the Android Virtual Device Manager should look like this with two devices:
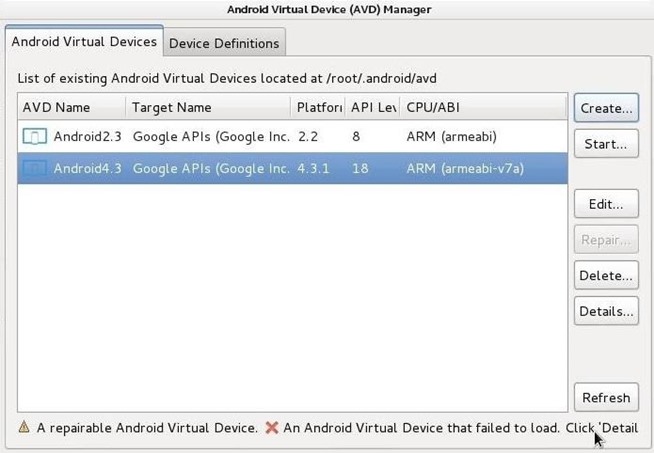
Go ahead and highlight one of the virtual devices and click “Start.”
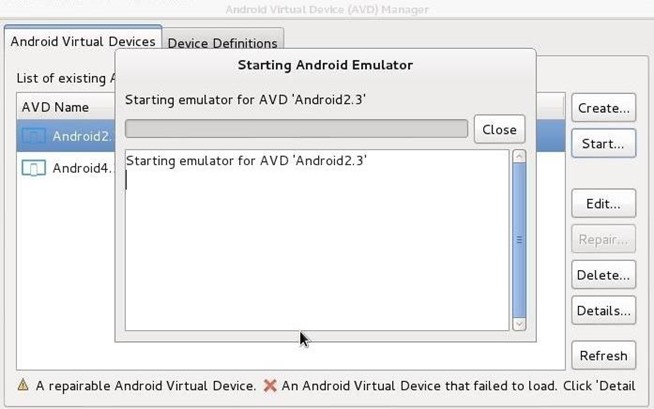
This is will start the Android emulator building your Android Virtual Device. Be patient here—this can take some time. When it has completed, you should be greeted by a virtual smartphone on your Kali desktop!

Step 7: Install the Smartphone Pentest Framwork
The next step is to install the Smartphone Pentest Framework. You can use git clone to download it at:
kali > git clone https://github.com/georgiaw/Smartphone-Pentest-Framework.git

Step 8: Start Apache
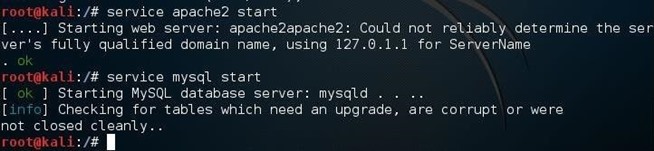
As will need a web server and the MySQL database, go ahead and start both of those services:
kali > service apache2 start
kali > service mysql start
Step 9: Edit the Config
Like nearly all Linux-based applications, the Smartphone Pentest Framework is configured via a plain text configuration file. We need to first navigate to the directory with the framework console subdirectory:
kali > cd /root/Smartphone-Pentest-Framework/frameworkconsole
And then open the config file with any text editor. In this case, I used Leafpad:
kali > leafpad config
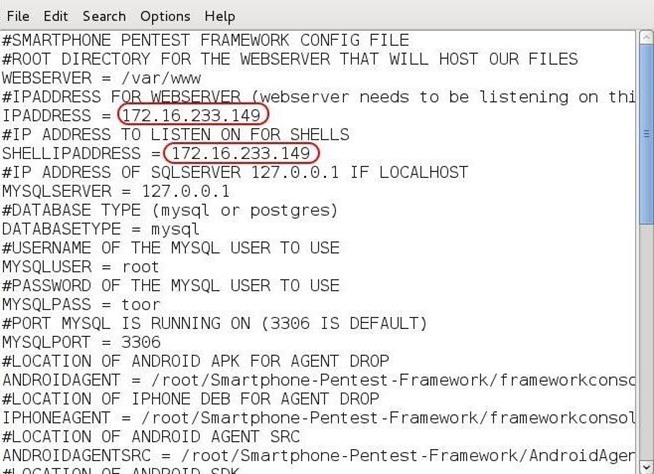
We will need to edit the IPADDRESS variable and the SHELLIPADDRESS variable to reflect the actual IP address of your Kali system (you can find it by typing “ifconfig”).
Step 10: Start the Framework
Now, we are ready to start the Smartphone Pentest Framework. Simply type:
kali > ./framework.py
And that should open the Framework menu, like that below.
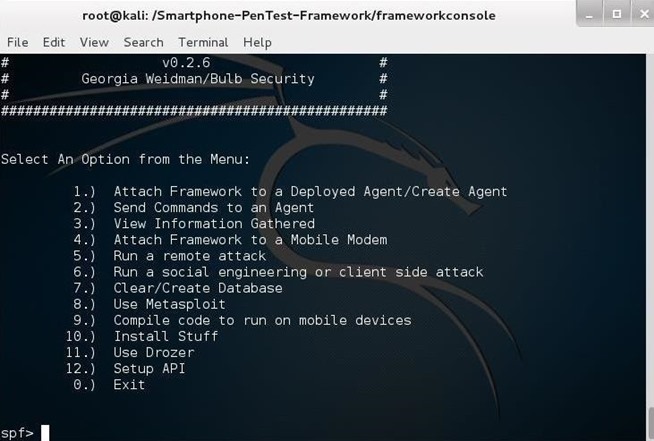
Now we are ready to start hacking smartphones!
In future tutorials in this series, I will demonstrate how to use this framework to hack/exploit smartphones. So keep coming back, my novice hackers!
Source:https://null-byte.wonderhowto.com/


Working as a cyber security solutions architect, Alisa focuses on application and network security. Before joining us she held a cyber security researcher positions within a variety of cyber security start-ups. She also experience in different industry domains like finance, healthcare and consumer products.


