
Introduction
Globaleaks is an open-source tool. This tool is introduced for publishing the news/article or any type of confidential information, which the world must know about it. This can be used by whistleblowers. Whistleblowers are the people who exposes confidential information that is considered unethical, illegal or not correct within a private or public organization.
This tool uses Tor2web to hide the whistle location and PGP (Pretty Good Privacy) data encryption, by this whistleblowers can be anonymous to the world, as commented by ethical hacking researcher of International Institute of Cyber Security. We can use this tool on both operating systems Kali 2019.3 and ubuntu. It does not store any information.
Environment
- OS: Kali Linux 2019, 64-bit
- Kernel-Version: 5.2.0
Installation Steps
- We are using VM machine to demonstrate the working, if you want to have this framework on internet or DeepWeb, then you need dedicated public server.
- Use this command to clone the file git clone https://github.com/globaleaks/GlobaLeaks
root@kali:/home/iicybersecurity# git clone https://github.com/globaleaks/GlobaLeaks
Cloning into 'GlobaLeaks'...
remote: Enumerating objects: 151757, done.
remote: Total 151757 (delta 0), reused 0 (delta 0), pack-reused 151757
Receiving objects: 100% (151757/151757), 82.98 MiB | 803.00 KiB/s, done.
Resolving deltas: 100% (111247/111247), done
- Use the cd command to enter into globaleaks directory
- cd GlobaLeaks\
root@kali:/home/iicybersecurity# cd GlobLeaks\
root@kali:/home/iicybersecurity/GlobaLeaks#
- Use this command to download the globalleaks, wget https://deb.globaleaks.org/install-globaleaks.sh
root@kali:/home/iicybersecurity/GlobaLeaks# wget https://deb.globaleaks.org/install-globaleaks.sh
--2020-04-06 09:58:24--  https://deb.globaleaks.org/install-globaleaks.sh
Resolving deb.globaleaks.org (deb.globaleaks.org)... 51.15.240.96
Connecting to deb.globaleaks.org (deb.globaleaks.org)|51.15.240.96|:443... connected.
HTTP request sent, awaiting response... 200 OK
Length: 10283 (10K)
Saving to: ‘install-globaleaks.sh’

install-globaleaks.sh                           100%[====================================================================================================>]  10.04K  --.-KB/s    in 0s

2020-04-06 09:58:26 (79.2 MB/s) - ‘install-globaleaks.sh’ saved [10283/10283]
- Use this command to provide the file permissions
- chmod +x install-globaleaks.sh
- Next, use this command ./install-globaleaks.sh to install the tool.
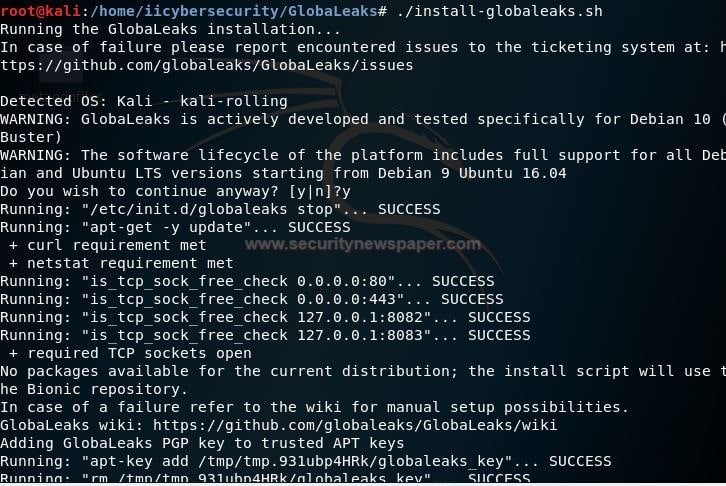

- While launching the tool we got an error that Ouch! The installation is complete but globaleaks failed to start, to resolve this issue we can use command /etc/init.d/globaleaks start to start the services.
- Use this command globaleaks -n -u globaleaks -g globaleaks to start the globaleaks tool.
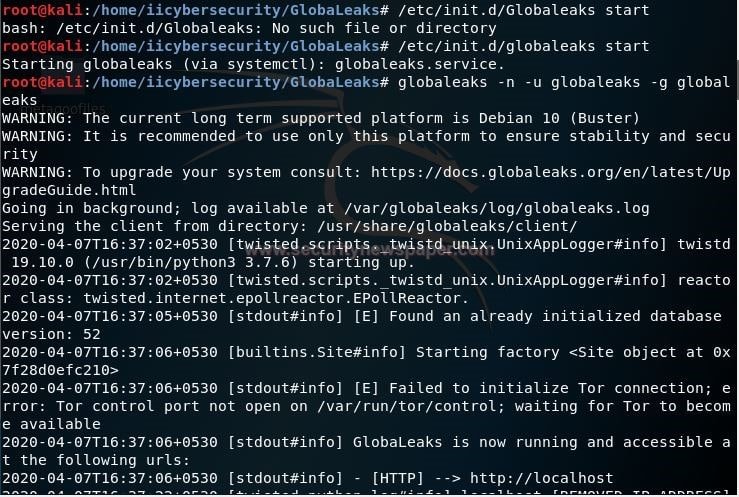
- Here we see that globaleaks has started.
- Now, open the browser enter the URL http://localhost:port. Here we have to specify the particular ports like 8082.
- Type http://localhost:8082.
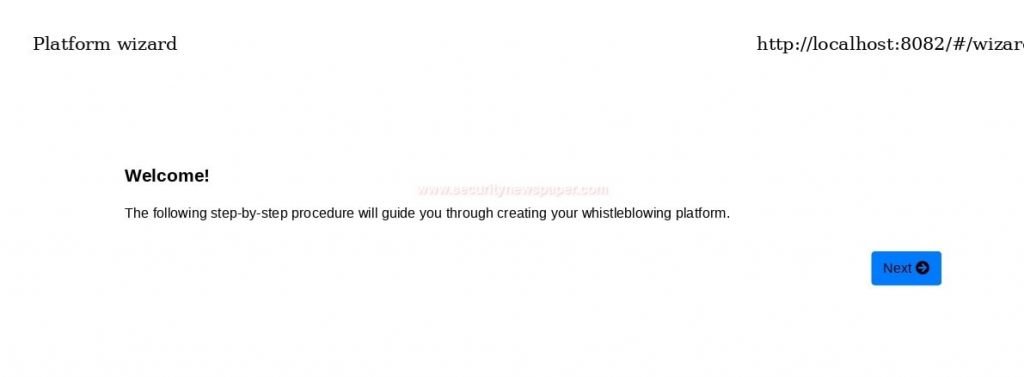
- Here we see the global leaks web pages.

- Here, we have to enter the project name and click on next.
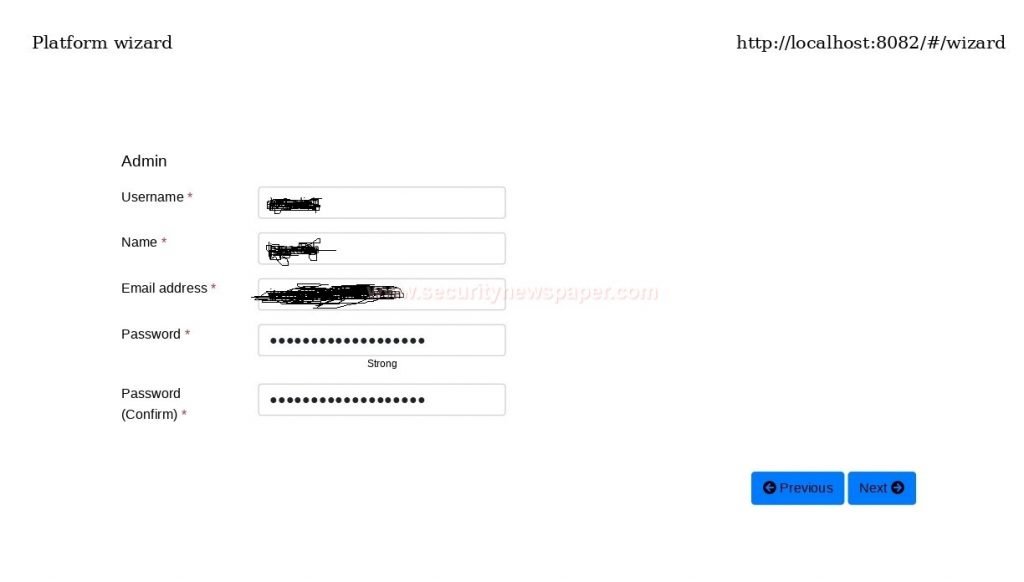
- Here, we have to sign up by providing our details and with a strong password, click next.
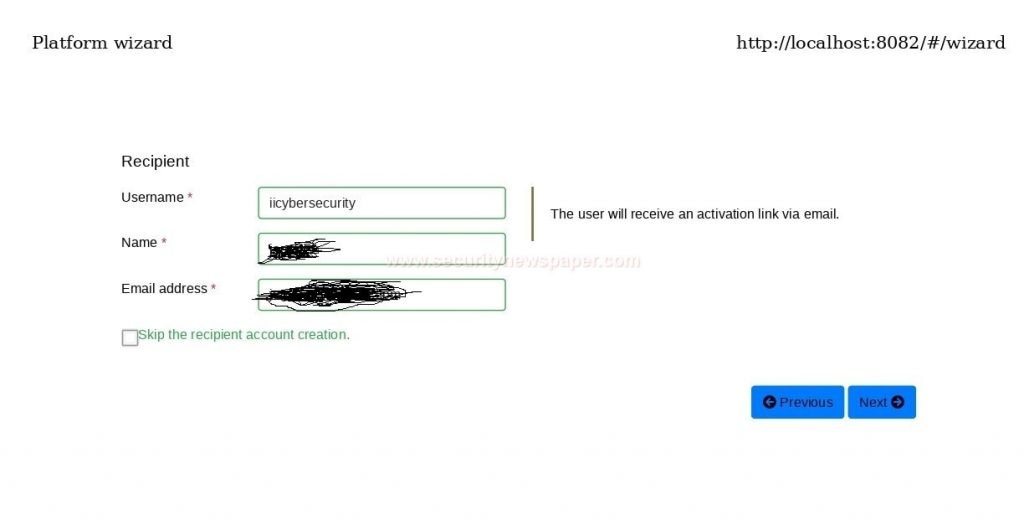
- Now, check you details you have entered.
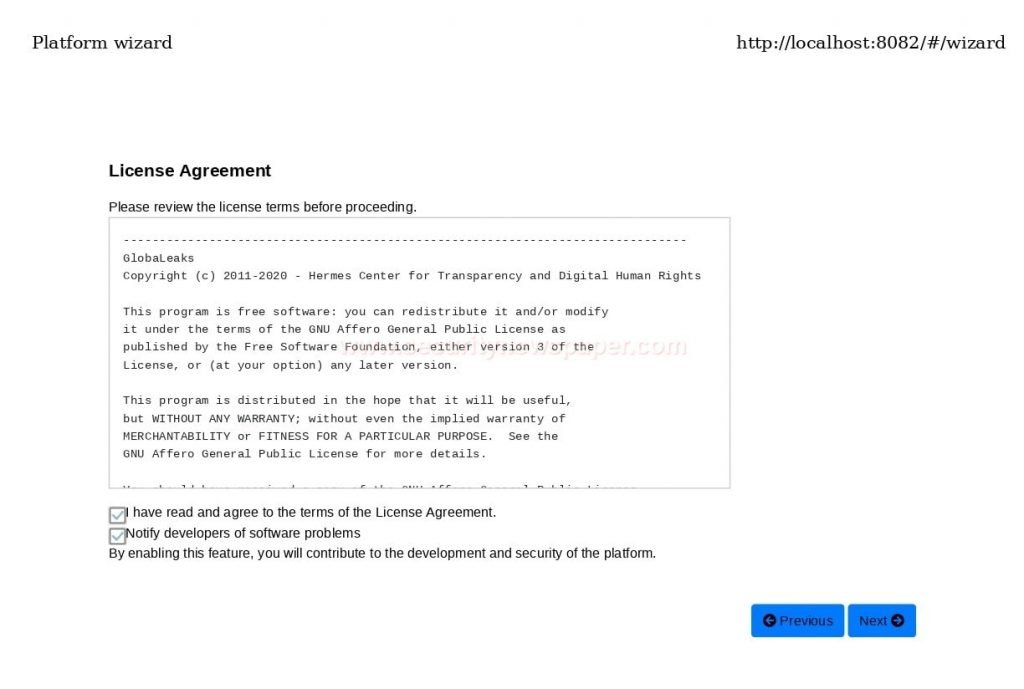
- Now, click on checkboxes to agree on the teams and conditions, then click on next.
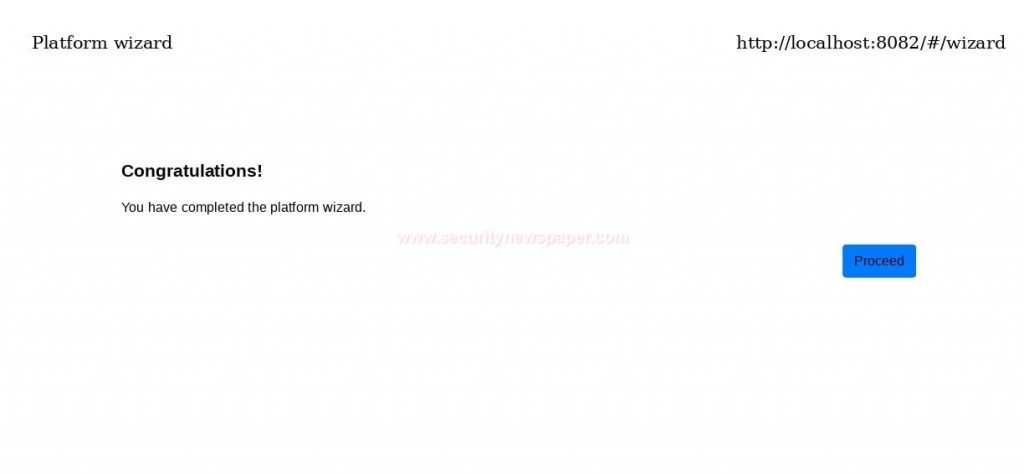
- Now, we have successfully registered our account in the globaleaks and click on proceed.
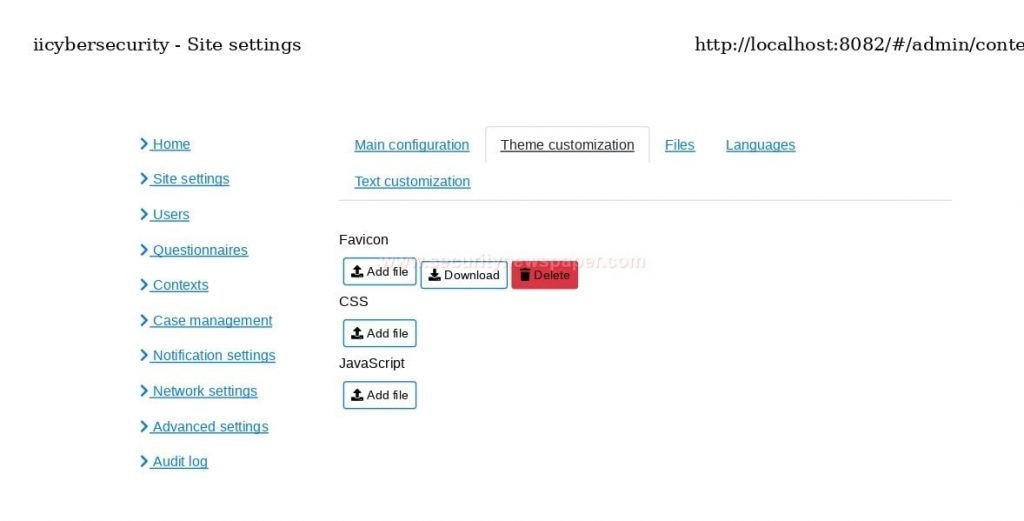
- When we enter into GlobaLeaks admin panel, we can find different options like home, Site Settings, Users, Questionnaires, contexts, case management, Notification settings, Advanced settings and, Audit logs. We will discuss some of them:
Site Settings
In site settings we can write about our project details and we can also see the other sub classifications in this.
- Favicon: Favicon is just like the picture, which displays on the top of web browser address bar
- CSS: CSS (Cascading style sheets) this is used for describing the document. How to display the elements on the screen.
- JavaScript: JavaScript is used to highlight the document and to add some special effects on pages.
So in this site settings, we can add all these options. As we can see in the below picture.
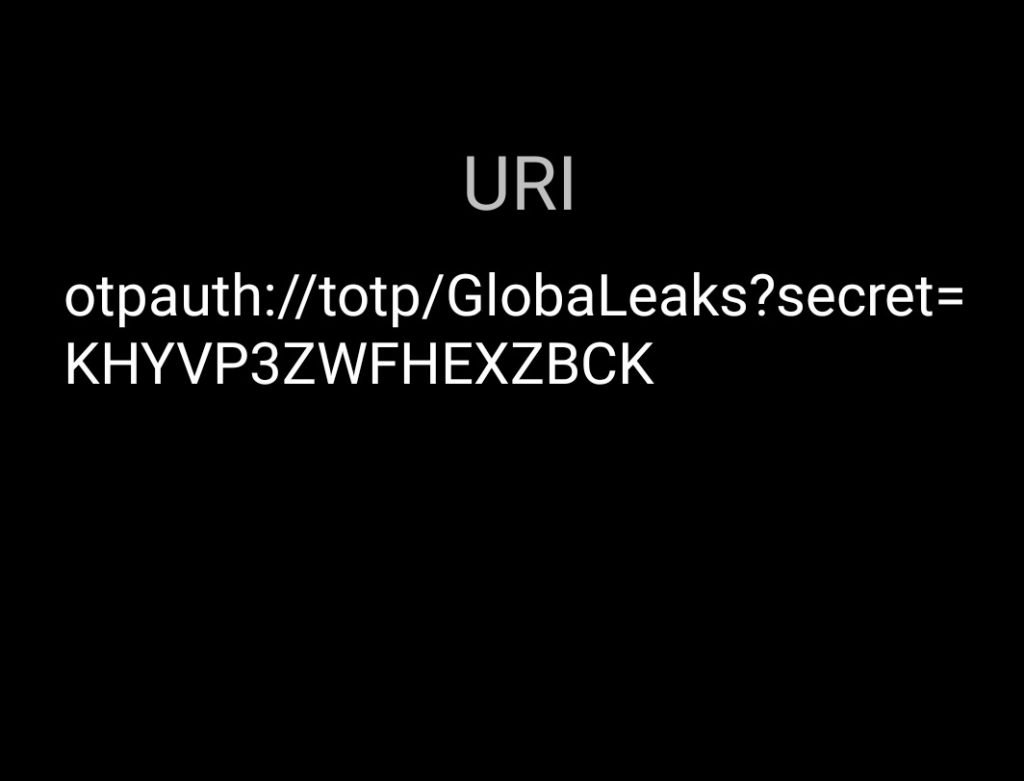
- In the GlobaLeaks we have 2 step authentication.
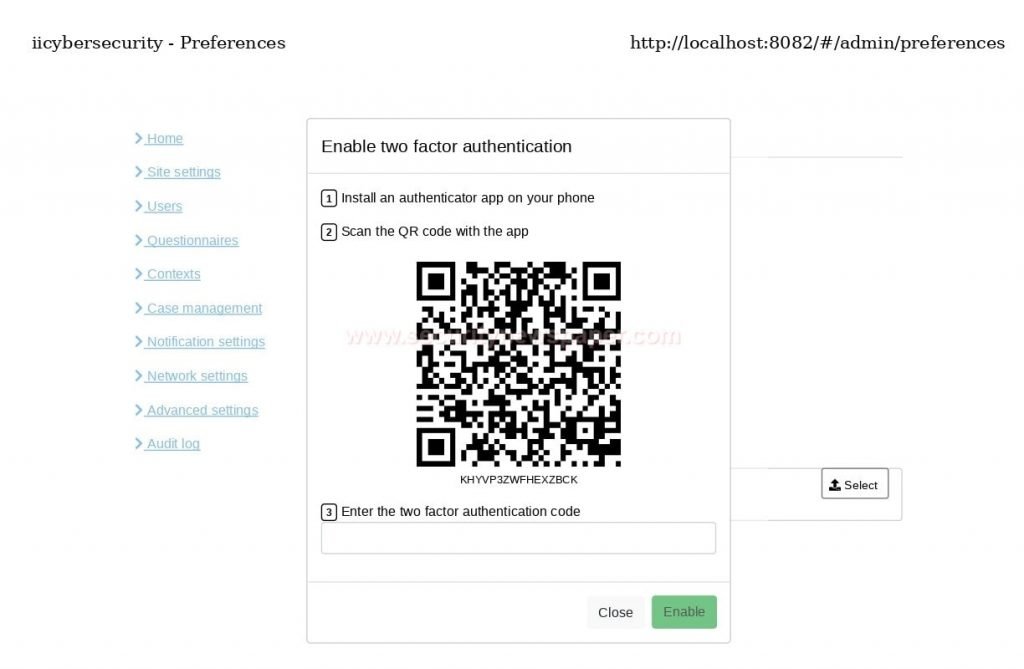
- When we try to scan with the QRcode scanner app we get this URL. As we can see in the below picture.
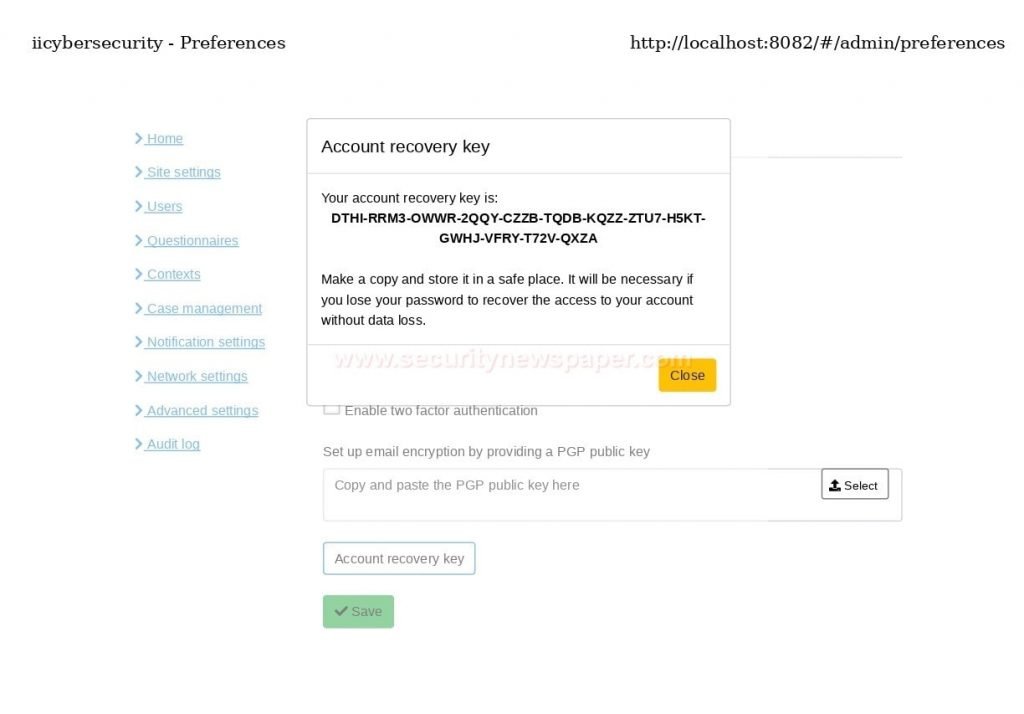
Account Recovery
In the preferences, we have an option called account recovery. In case you forget your password, by using this option we can recover the account.
Network Settings
- In the network settings, we have 4 sub-classifications
- HTTP
- TOR
- Access Control
- URL Redirect
HTTPS: HTTPS configuration. Nowadays each and every website uses HTTPS to protect the users communication. It is very important for the GlobaLeaks installation. When we select HTTPS options, there we can find localhost as predefined in it. We can also change the HTTPS option instead of the localhost and also we can see two more options like Manual configuration and Auto configuration.
TOR: Tor (The Onion Router) is open-source software. We can use this in all operating systems like windows, mac and, Linux as well as android phones. By using this software, we can be anonymous to the world and it keeps on changing the locations.
Access control: In the access control option we can restrict access by clicking on the checkbox and providing a particular IP.
URL Redirect: As we all know GlobaLeaks has an option Tor2web. So in this tool, we can also add particular locations to redirect.
Uploading information by Whistleblower
After completing the creation of an account in GlobaLeaks, and uploading your GlobalLeaks server to public server, your GlobalLeak IP will become https://<Public-IP>:8082.
- You can create your own TOR server of .onion website and upload your GlobalLeaks there, then your GlobalLeak IP will become https://<XXXXXXX>.onion.
- On opening this public link either of Internet or as deep web, you will get this screen:
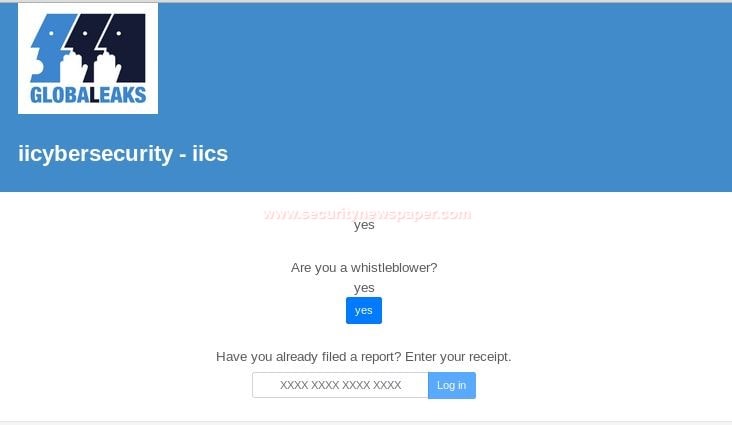
- Click on yes, are a whistleblower and enter the information which we want to share and click on submit.
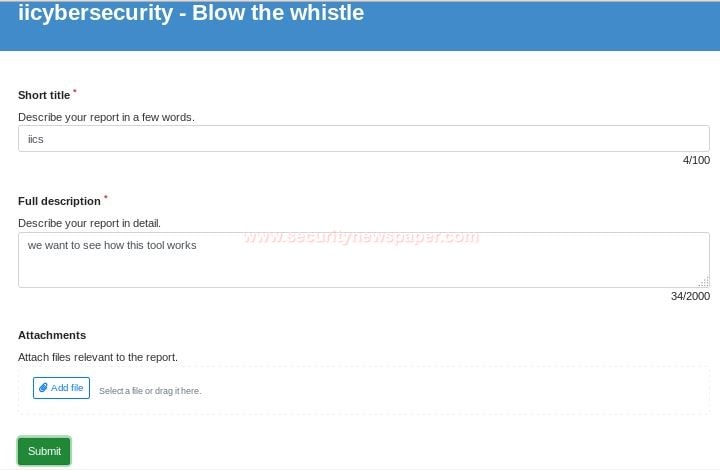
After clicking on the submit button, you will receive a notification that your new submission had send as whistleblower to journalist for review.
Conclusion
GlobaLeaks is a platform that runs on TOR service and it connects the all journalist together. Server can be self-hosted, so uploaded information and data are only accessible to you. Also, files are encrypted with PGP, which keeps information safe and secure.


Cyber Security Specialist with 18+ years of industry experience . Worked on the projects with AT&T, Citrix, Google, Conexant, IPolicy Networks (Tech Mahindra) and HFCL. Constantly keeping world update on the happening in Cyber Security Area.


