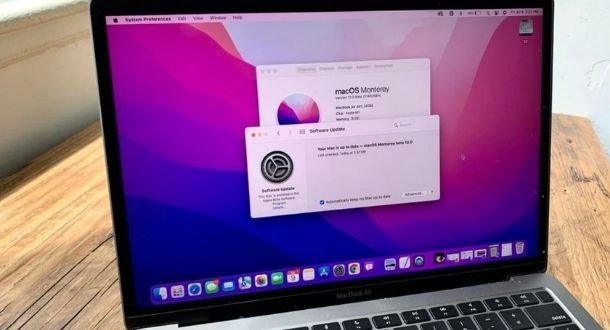
If your Mac is beginning to get cluttered and the performance is dropping, it’s likely that you could benefit from clearing up some of the disk space. Clearing up disk space isn’t like clearing out a wardrobe where you have to throw out items you use or that have sentiment, as many files on your Mac serve no useful purpose to you. Try these steps below to clear up some disk space.

Checking Storage
Before starting, you may as well gauge the extent of the problem and check how much disk space you actually have remaining. Head over to the Apple menu, click About This Mac, and then press storage. Have a look at not just how much is remaining but what categories are taking up the most memory.
If you have less than 15% of your storage space free, it’s absolutely essential to follow the steps below to ensure you get no problems with the Mac.
Step 1: Built-in Tools
Mac offers a few built-in tools which are available under “Manage” when browsing your disk space in the step above. These tools are sophisticated and automated ways to ensure your Mac cleans itself, such as automatically emptying the Trash after 30 days, reducing clutter, storing files in the iCloud and other ways of optimizing storage.
Step 2: Removing Apps
Next up is to remove applications that you no longer need or use frequently. There’s no need to cling onto apps that you may use way down the line if they’re easily redownloaded and with minimal setting up. This could free up many gigabytes of storage with just a couple of uninstalls.
Step 3: Empty Trash
When you delete items from your Applications or Downloads folder, they end up in the Trash. This isn’t quite the same as being deleted as it’s not permanent until you empty the Trash. To do this, right-click the Trash icon on the Docker and press Empty. You can do this immediately after deleting applications and files, but if you want a more passive approach, it’s fine to rely on the built-in tools automated 30-day emptying.
Step 4: Clear Cache
Cache is basically the temporary files that help pre-load applications and websites. Whilst useful in principle, obsolete cache often gets stored, meaning we need to clear it now and again before it becomes counter-productively a hindrance on our storage and performance.
Click the Finder icon, press Go and enter in “~/Library/Caches” in order to manually clear the cache in each folder of different programs. This is better done using cache-clearing software, though clearing browser cache manually is much easier. Simply head over to Safari, click Develop in the top menu and click empty caches. If you’re using Chrome or Firefox, do the same (with most browsers, it’s found under clearing history or cookies & site data.
Step 5: Downloads Folder
Another way to make a big impact is to manually delete redundant items from your Downloads folder. This could be old movies, .jpegs that you no longer need, or old documents. There’s likely a lot of stuff in this folder because it quickly accumulates, so it’s best to organise and de-clutter here at least once a week.
Step 6: Delete iOS backups
Apple is great for keeping your data safe, but sometimes it will save multiple backups – all of which are not needed except the latest, most relevant one. These can take up several GB so you can make a big impact on disk storage by deleting them. Click on Finder, then press your device. Under the General tab, head over to Manage Backups and right-click the backup you want to delete. Just be sure you absolutely do not need it before deleting it.

Working as a cyber security solutions architect, Alisa focuses on application and network security. Before joining us she held a cyber security researcher positions within a variety of cyber security start-ups. She also experience in different industry domains like finance, healthcare and consumer products.


