
Since its appearance, deepfake technology has become a controversial issue because, despite being one of the most popular examples of artificial intelligence and machine learning, on many occasions it has been given a malicious use. Despite its growing popularity, many curious people still wonder how this technology and tools work, being surprised to realize how relatively easy it is to use.
In this article, cybersecurity experts from the International Institute of Cyber Security (IICS) will show us DeepFace 2.0, a deepfake editing tool with which almost anyone can create a video from other files. As usual, remember that this article was prepared for informational purposes only and should not be taken as a call to action; IICS is not responsible for the misuse that may occur to the information contained herein.
Download and Installation
It is possible to download DeepFace from its official forum or from the GitHub repository. Cybersecurity experts recommend using NVIDIA RTC 3000 or RTX 2080Ti graphics cards for a better experience when using the tool.

After downloading, open the file and unzip it.

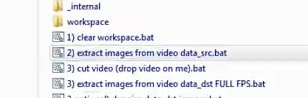
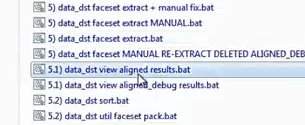
When unpacking we will see a large number of .BAT files. These files will be needed to create the deepfake video.
Using the tool
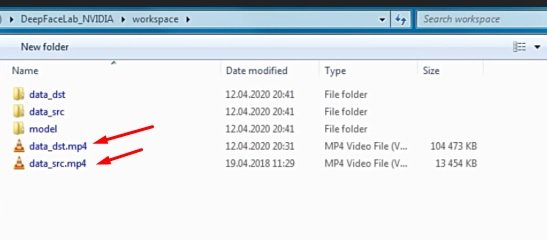
There are multiple video files in the Workspace folder. We will change them to the ones we need for our specific project after changing the name.
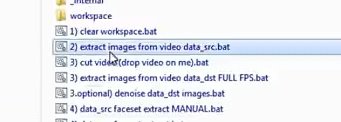
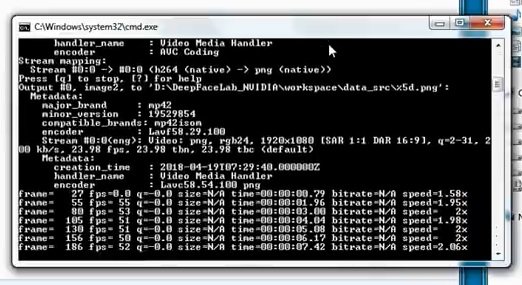
Then we go back a folder and open the first file called “extract images from video data_sec.bat”:
After opening the command line, press Enter several times until you encounter the following image:
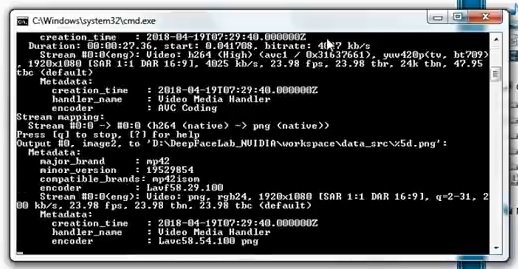
Once the script is finished, you will need to click on any button, mention the cybersecurity experts.
Using the same procedure, we launch the second file “extract images from video data_src.bat”.
Let’s wait for the script execution to finish.
Run the third bat file called “extract images from video data_dst FULL FPS”.
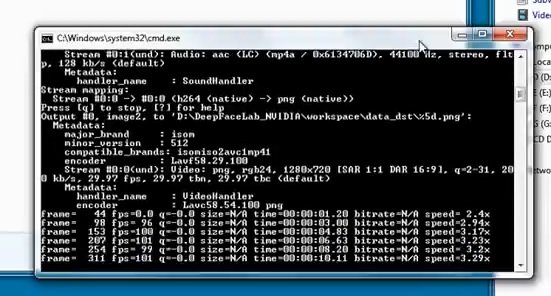
We will also have to wait for the execution of this script.
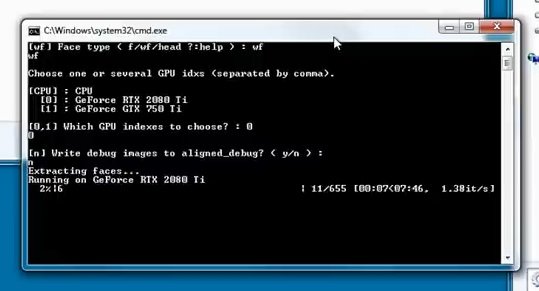
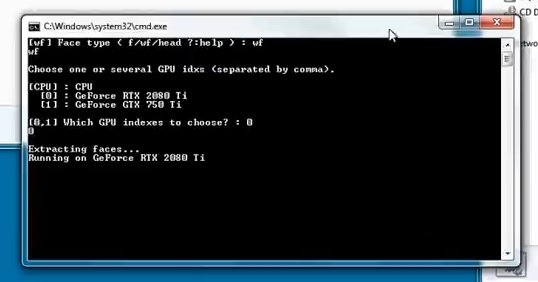
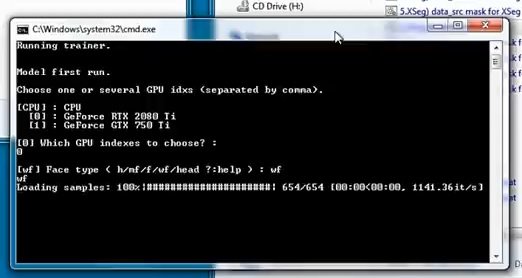
Run a bat file called “data_src faceset extract”, where you will type “wf”
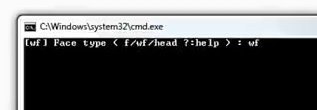
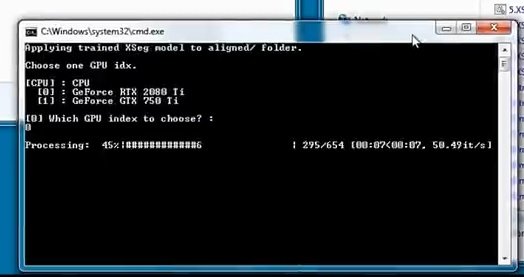
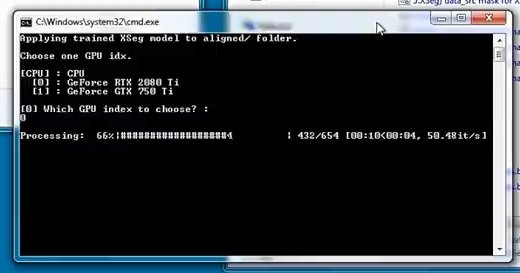
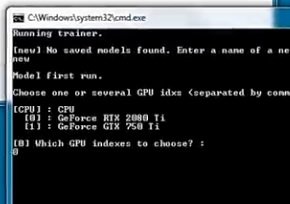
Then press Enter; we must select the video card through which the processing will be carried out.
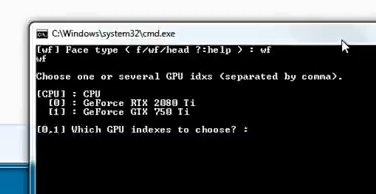
Select the video card you need by entering the number that indicates it and press Enter.
Answer the following question with the command “n” and press Enter.

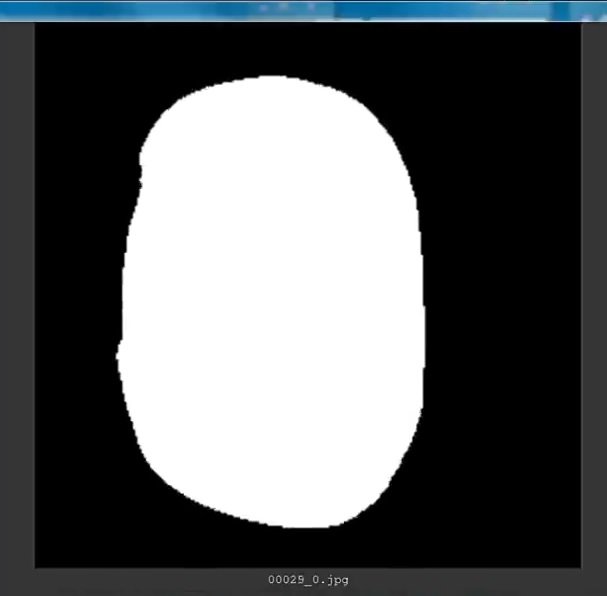
At this point, videos are analyzed where the search for faces is carried out.
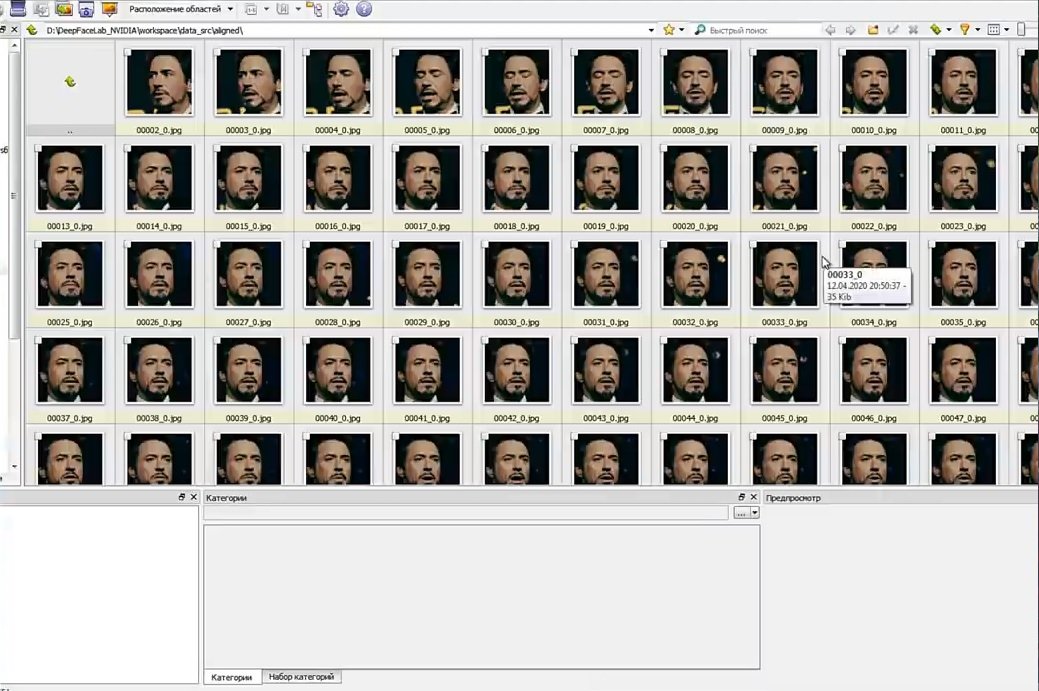
Then, open a file called “data_src view aligned result” to see all the scanned material, cybersecurity experts mentioned.

Close the program to proceed to the next step.
Open the “data_dst faceset extract” file:

Enter the “wf” command again, select the video card and wait for the process to finish.
Once the script is finished, we proceed to the next step.
Run the “data_dst view aligned results” file
You will be able to see the scanned material again:

Close this window and go to the next step:
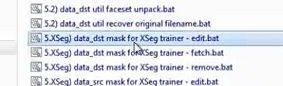
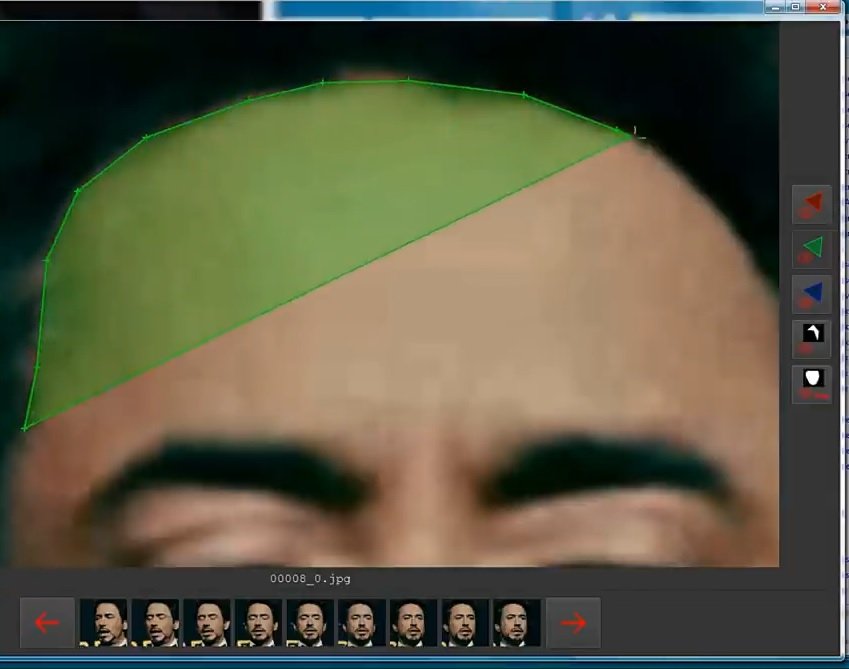
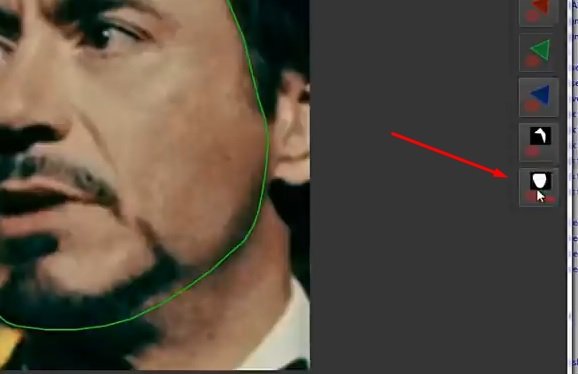
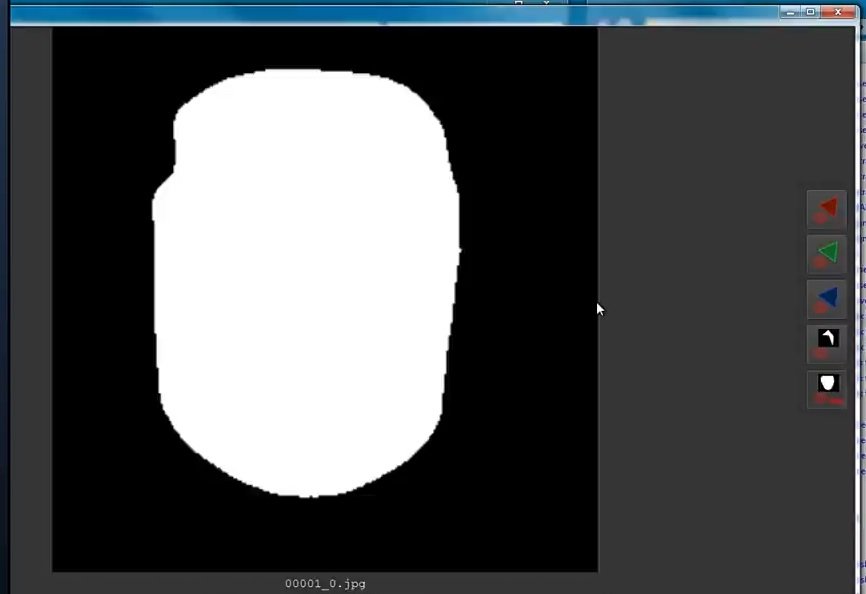
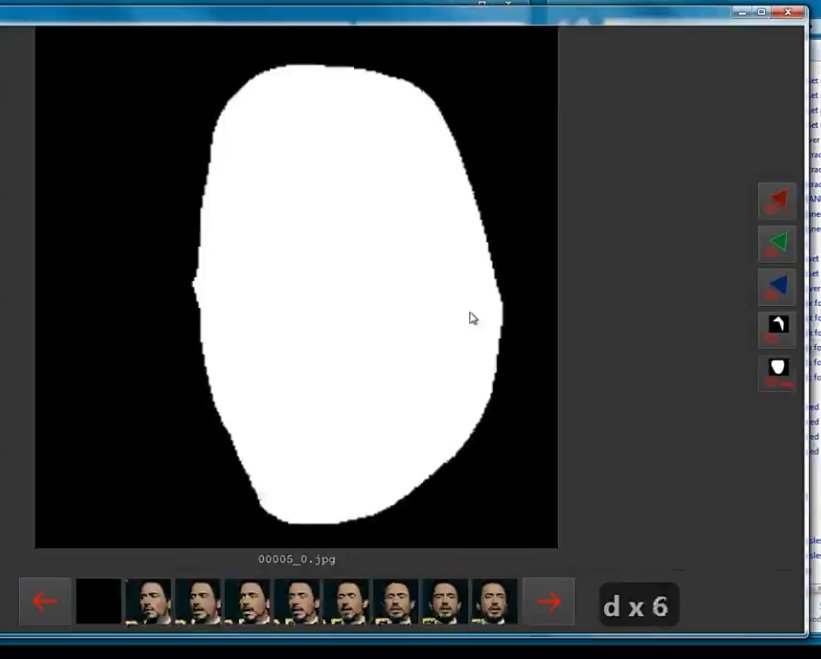
Run the file “XSeg) data_dst mask for XSeg trainer – edit”
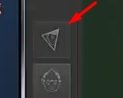
After opening the program, cybersecurity experts recommend clicking this button and start tracing the outline of the face.

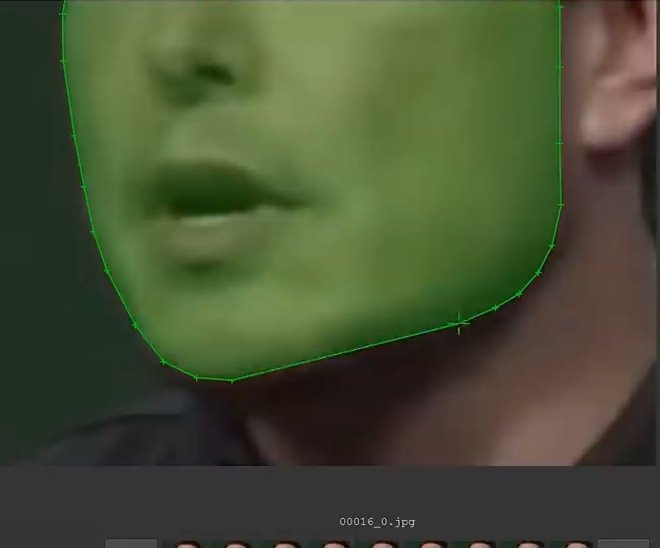
We do not do it in all photos, although it will be preferable to do it where you can see a different projection.
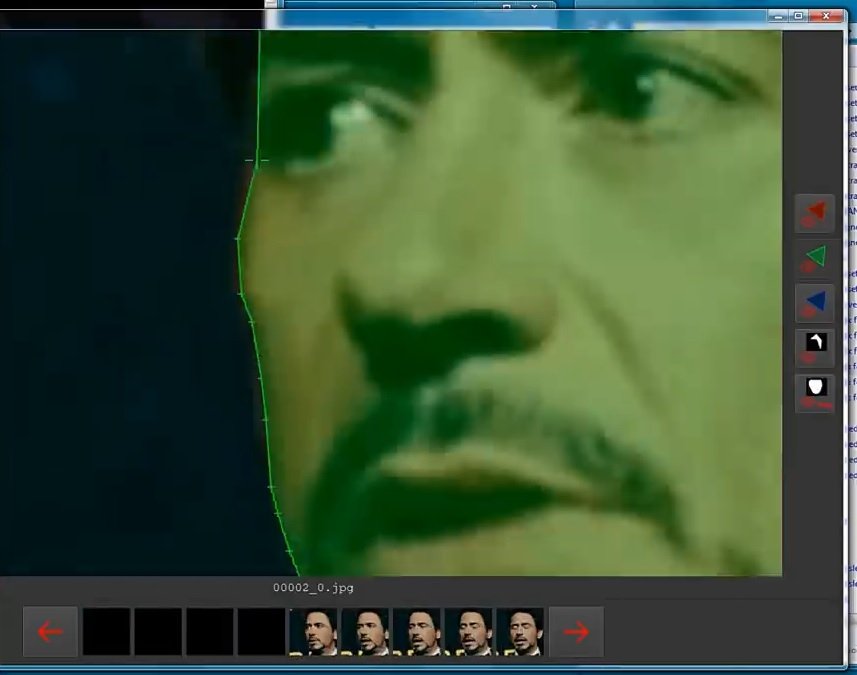
Next, open the file “XSeg) data_src mask for XSeg trainer – edit”
We will repeat the same step using another face:
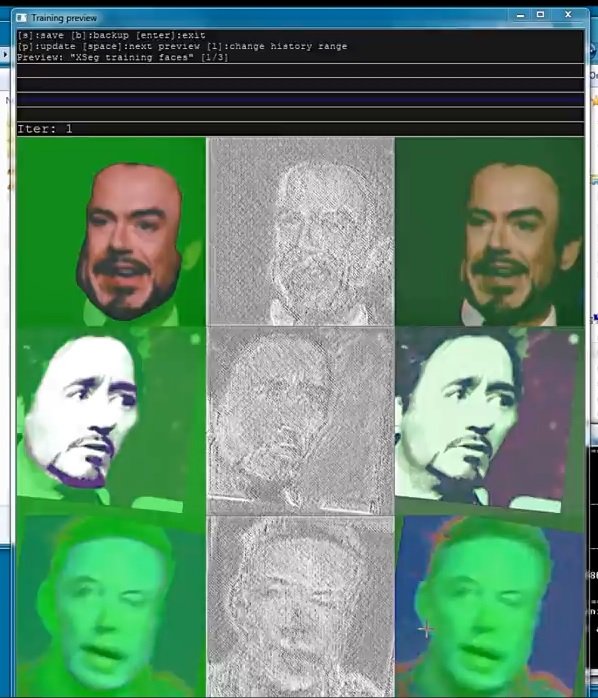
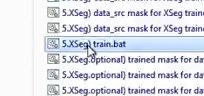
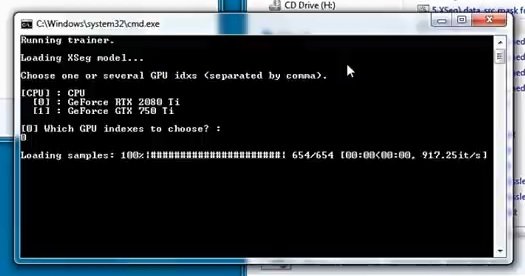
Next, open the file “XSeg) train.bat”
Select a video card and continue. Enter the command “wf” and wait for the script execution to finish.
Processing will begin now. Cybersecurity specialists point out that this could take a long time.
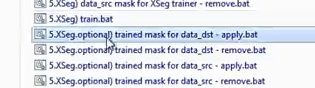
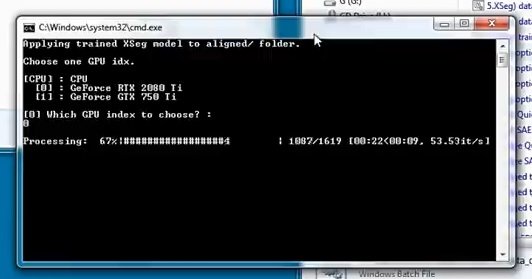
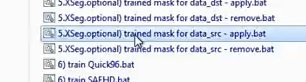
Then run the file “XSeg.optional) trained mask for data_dst – apply”
Select the video card again. Wait for the script to finish.
Open a file called “XSeg.optional) trained mask for data_src – apply”

The options presented below are the same as those in the previous step.
Then run the file “XSeg) data_src mask for XSeg trainer – edit”
We will open this program that is already familiar to us by clicking where it is indicated in the image shown below:
We scroll and see if the editing is correct.
Then open the XSeg file) data_dst mask for XSeg trainer”

Repeat the same procedure as in the previous step.
Next, open “XSeg) train”
Select the video card again and press Enter.
Again we will have to wait for the script to finish.

Wait for the processing to finish.
Next, open “XSeg.optional) trained mask for data_sec – apply”
Again, you need to select a video card. Select and press Enter.
Wait until the end to proceed to the next step.
Then reopen “XSeg) data_src mask for XSeg trainer – edit”
Let’s check the process:
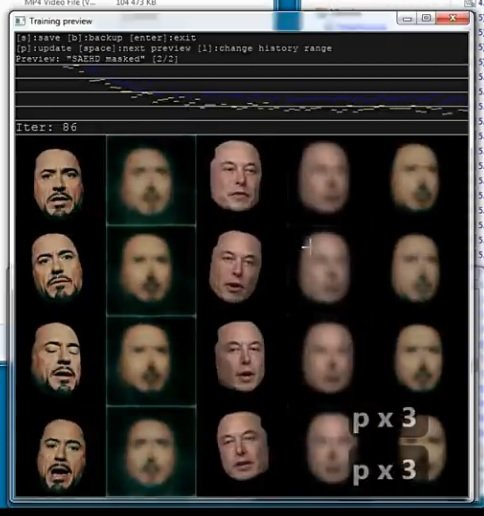
Next, run “train SAEHD”:
After opening the command line, we first type “new” and then select the video card. All other questions can be answered by pressing Enter.
This specific question must be answered with the command “wf”:

After the questions are over, we will have to wait for the process to finish, mention the cybersecurity experts.

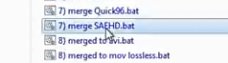
Run the command “merge SAEHD”
After running the script, we answer all the questions by pressing Enter.
Then, using this suggestion, we continue to adjust the face to the new image.
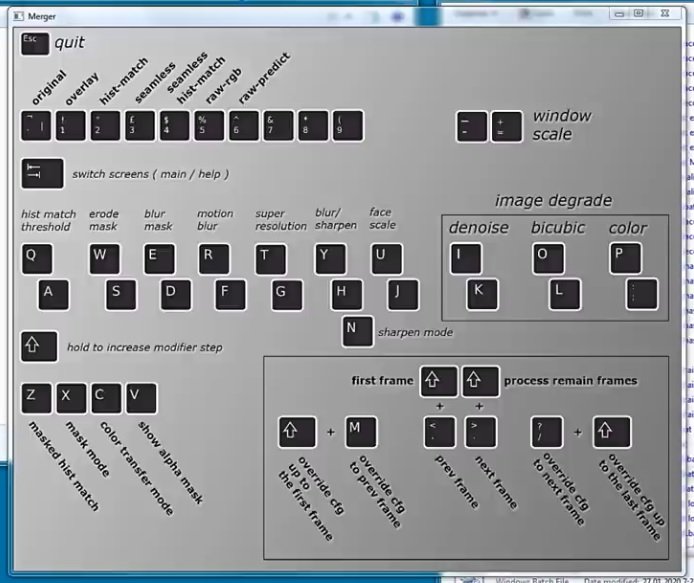
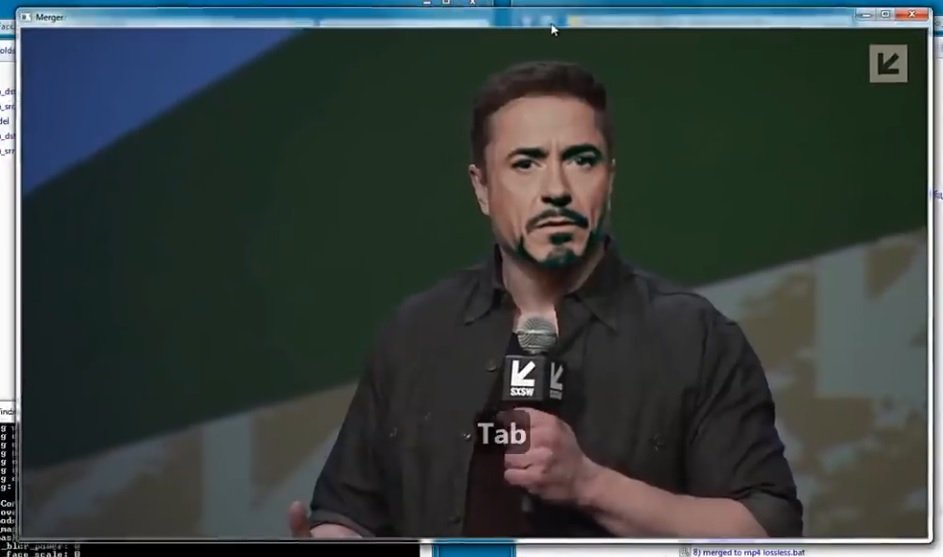

When you’re done, press Esc and continue.
Next, you need to open “merged to mp4”
Processing will continue to proceed; you’ll have to wait until this is over, cybersecurity experts say.
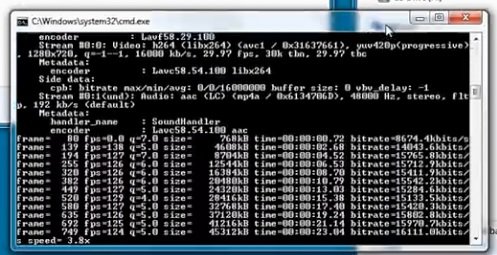
Here you can see the result.


Remember that this tool must be used with the recommended hardware and software resources to complete the process correctly; don’t put your computer at risk by trying to run tools like this with suboptimal resources.
To learn more about information security risks, malware variants, vulnerabilities and information technologies, feel free to access the International Institute of Cyber Security (IICS) websites.


He is a well-known expert in mobile security and malware analysis. He studied Computer Science at NYU and started working as a cyber security analyst in 2003. He is actively working as an anti-malware expert. He also worked for security companies like Kaspersky Lab. His everyday job includes researching about new malware and cyber security incidents. Also he has deep level of knowledge in mobile security and mobile vulnerabilities.


